This feature is only available in Pro.
1. You must first install the slider plugin contained within your theme package (located: sources > plugins > nivo-slider.zip). Plugins can be installed easily from under Plugins > Add New in your WP admin.
2. Once the slider plugin is installed you’ll see a new menu tab for it in your WP admin “Nivo Slider“. Create a slider named slider and adjust the settings and add images as needed (See Slider Documentation).
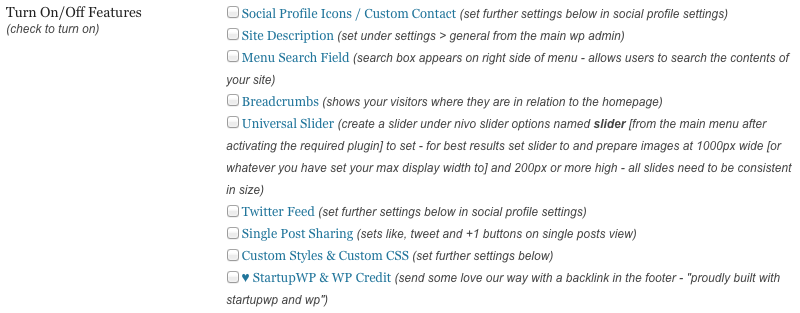
3. Then, from your WP admin, navigate to Appearance > StartupPro Options > Turn On/Off Features:

Check the box to display the Universal Slider and save. Refresh the front-end of your site and you’ll now see your slider.
Recommended Slider Settings:
Slider Type: Manual
Slider Sizing: Responsive
Slider Theme: None
Transition Effect: Fade
It’s also recommended that you prepare your images consistently in size. Recommended width 1000px by however high you wish.
Note: You can create unlimited additional sliders that can be placed directly into pages, posts and even widgets with shortcodes.
StartupWP 6 years, 6 months ago.
StartupWP 6 years, 6 months ago.